
How To Make Chocolate Lava Skull Cakes
Looking to impress your guests this Halloween? Chocolate Lava Skull Cakes are your answer!
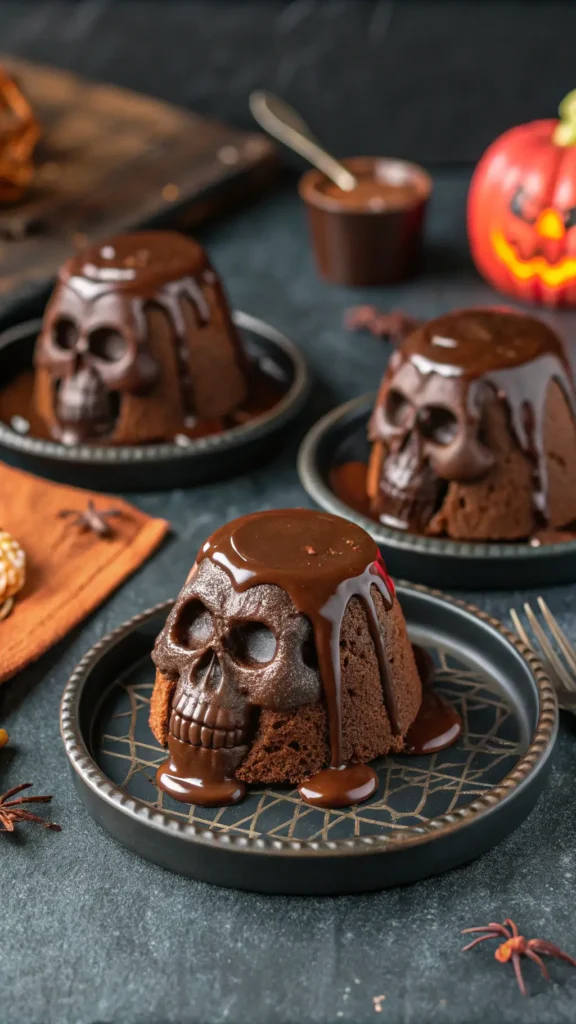
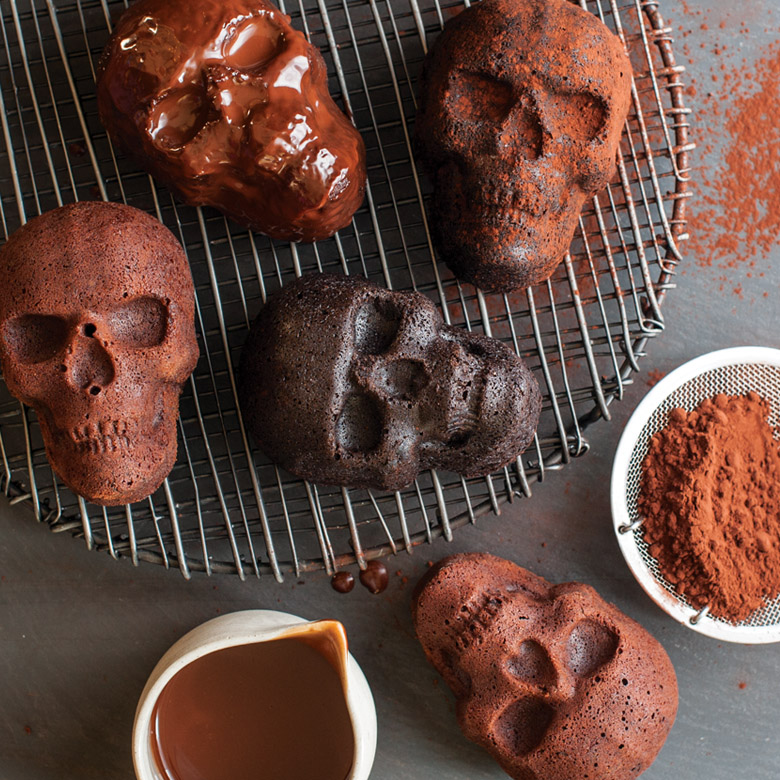
These spooky treats are delicious and fun to make. Imagine biting into a skull-shaped cake and molten chocolate oozing out. Sounds amazing, right? Chocolate Lava Skull Cakes are perfect for Halloween parties or any spooky-themed event. They combine rich chocolate flavor with a dramatic presentation.
Plus, making them is easier than you might think. With a few simple ingredients and steps, you can create these impressive desserts. Get ready to wow your friends and family with this unique and tasty treat!
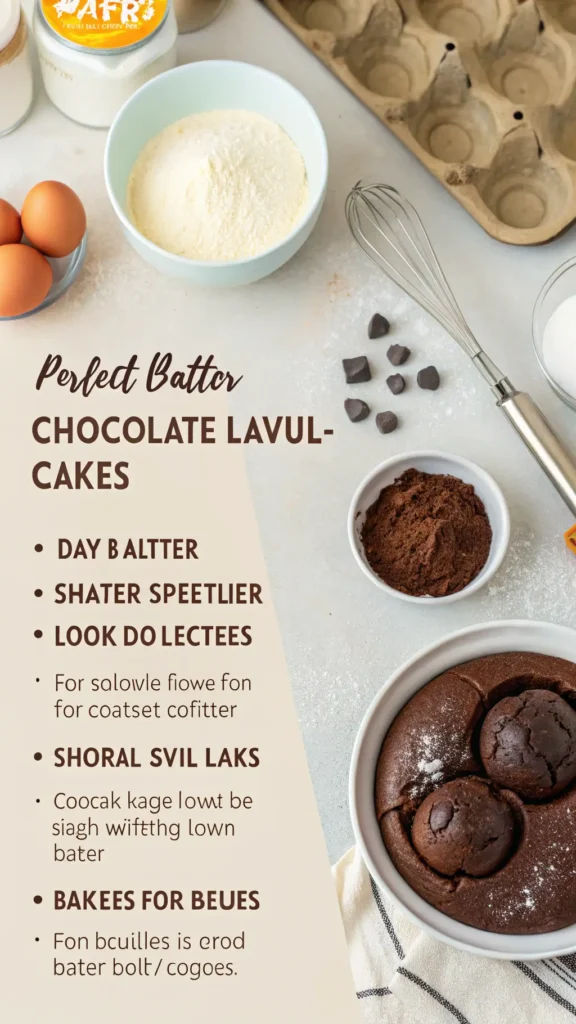
Ingredients
Creating Chocolate Lava Skull Cakes involves a mix of rich ingredients. These ingredients ensure a delicious and spooky treat. Let’s break down what you need.
Chocolate Choices
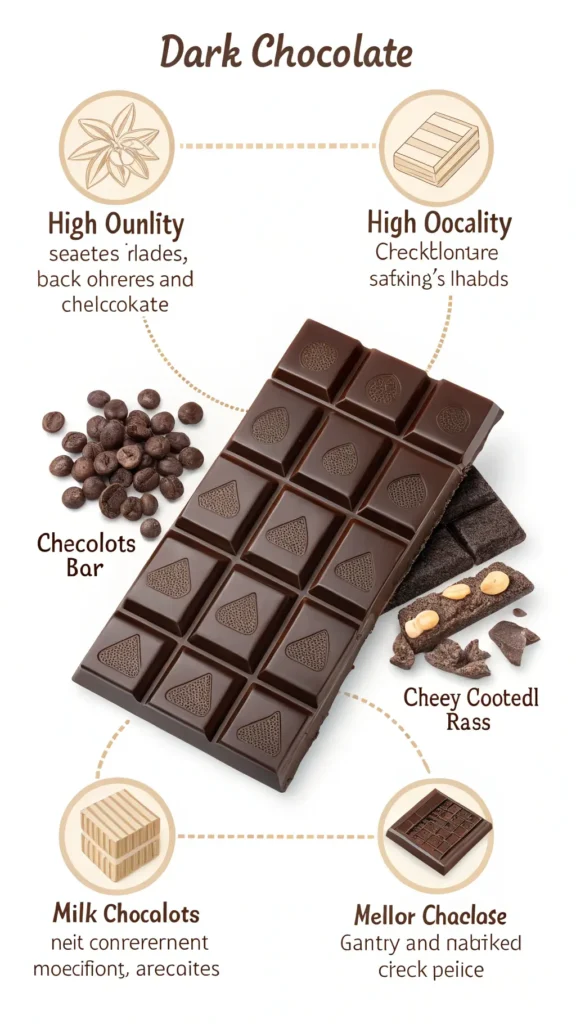
The chocolate you choose matters. Use high-quality dark chocolate. It gives a rich and intense flavor. Milk chocolate can also work. It offers a sweeter taste. Avoid using chocolate chips. They contain stabilizers that affect melting. Aim for chocolate bars or baking chocolate.
Essential Baking Supplies
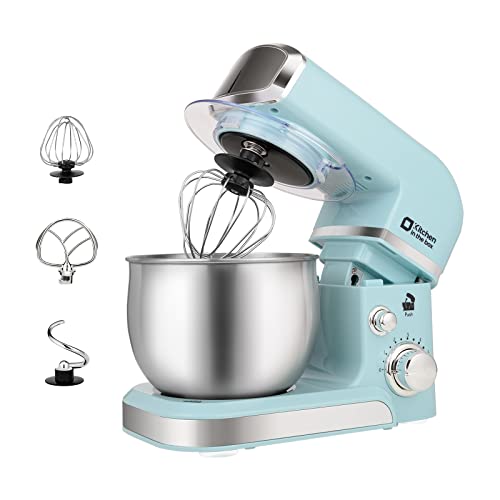
Gather these baking supplies to make the process smooth. You will need a skull-shaped silicone mold. It creates the spooky skull shape. Have a mixing bowl for combining ingredients. Use a whisk or electric mixer. It helps in achieving a smooth batter. Preheat your oven to the right temperature. Prepare non-stick spray or butter. It ensures easy removal of cakes. Finally, have a cooling rack ready. It helps in cooling the cakes evenly.


Preparation
Creating the perfect Chocolate Lava Skull Cakes involves a few essential steps during the preparation stage. This part of the process ensures your cakes turn out both delicious and visually stunning. Let’s dive into the necessary preparation steps to achieve these spooky treats.
Preparing The Skull Molds
The first step is preparing your skull molds. Properly preparing these molds guarantees your cakes will have a flawless shape.
Start by thoroughly greasing the molds with butter or oil. This helps the cakes release easily after baking.
Next, dust the molds with cocoa powder. This adds flavor and prevents sticking. Ensure you cover every nook and cranny.
Preheating The Oven
Preheating the oven is critical for even baking. Set your oven to 350°F (175°C).
While the oven heats up, place a baking sheet on the middle rack. This provides a stable surface for the molds.
Don’t forget to double-check the temperature with an oven thermometer for accuracy.
With these preparation steps, you are well on your way to making the best Chocolate Lava Skull Cakes. What other creative ideas can you think of to enhance the spooky theme? Share your thoughts in the comments!
Making The Batter
Creating the perfect batter is crucial for your Chocolate Lava Skull Cakes. This part of the process ensures the cakes will have the right texture and flavor. Follow these steps to make the batter just right.
Melting The Chocolate
Start by choosing high-quality dark chocolate. Break the chocolate into small pieces. Place them in a heatproof bowl. Next, set up a double boiler. Fill a pot with water and bring it to a simmer. Place the bowl over the pot. Stir the chocolate as it melts. Make sure it melts smoothly. Remove the bowl from the heat once fully melted.
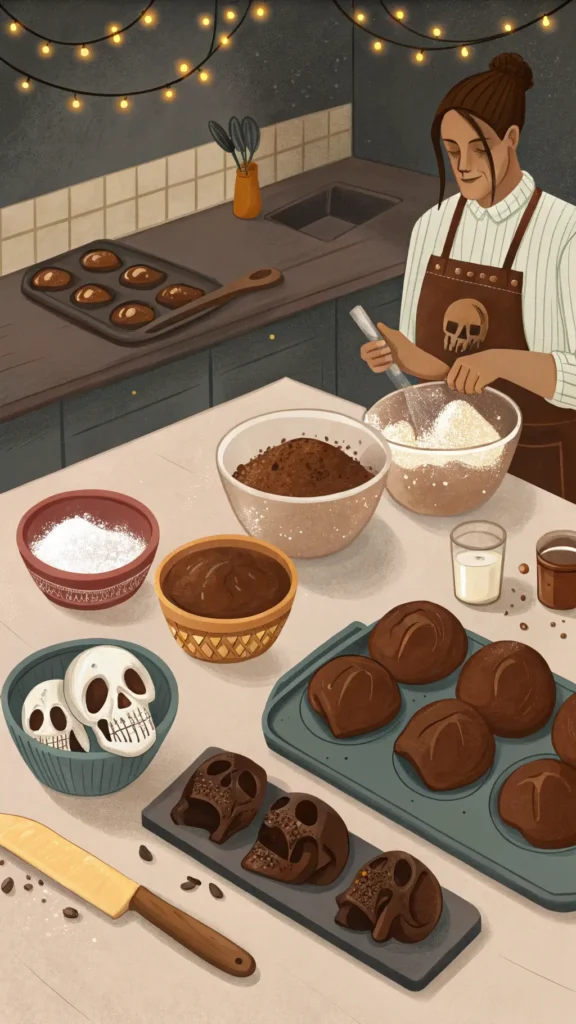
Mixing The Ingredients
In another bowl, beat the eggs and sugar. Mix until the sugar dissolves. The mixture should become light and fluffy. Slowly pour in the melted chocolate. Stir gently to combine. Add flour and a pinch of salt. Mix until just combined. Avoid overmixing. The batter should be thick and smooth.
- THE MOST POPULAR WHITE CORN MEAL – Pre-cooked white corn meal P.A.N. from Empresas Polar is made with 100% selected Whit…
- EASY TO PREPARE – Our white corn meal is pre-cooked, meaning your delicious meals will take less time to be ready! Just …
- GET READY FOR CREATIVE AND TRADITIONAL MEALS – Perfect to prepare a substitute for bread in a latino brunch and main ing…
Filling The Molds
Filling the molds for your chocolate lava skull cakes is where the magic begins. This step is crucial for creating the perfect gooey center that makes these cakes so irresistible. Let’s dive into how you can master the filling process with a few simple techniques.
Half-filling Technique
To start, you need to half-fill each mold with your chocolate cake batter. This ensures that there is enough room for the lava center without overflowing.
Simply pour the batter into the molds until they are about halfway full. This gives you the perfect base for adding the delicious lava center.
Using a spoon or a piping bag can help you control the amount and evenly distribute the batter. Have you ever found that using a piping bag makes less mess? It’s a game-changer!
Adding The Lava Center
Next, it’s time to add the lava center. This is the heart of your chocolate lava skull cakes.
Place a small spoonful of your prepared chocolate ganache or lava mixture right in the center of the half-filled molds. The key is to keep the lava center away from the edges to avoid leakage.
Once the lava center is in place, cover it with more batter, filling the mold to just below the rim. This ensures the cakes will rise perfectly without spilling over.
Have you ever wondered how to get that perfect lava flow? The secret is to keep the center small but generous enough to create that gooey surprise when you cut into it.
By following these steps, you can create chocolate lava skull cakes that are both visually stunning and deliciously gooey on the inside. So, go ahead and impress your friends and family with your baking skills!
Baking
Baking the perfect chocolate lava skull cakes requires attention to detail. Each step in the baking process is vital. These steps ensure your cakes turn out delicious and spooky.
The right baking time and checking for doneness are key. Follow these tips to achieve the best results.
Optimal Baking Time
Preheat your oven to 350°F (175°C). This temperature sets the stage for even baking. Place the skull molds on a baking sheet. This helps in handling them easily.
Bake the cakes for 12 to 14 minutes. The sides should be firm. The centers should still be soft. This balance creates the lava effect. Do not overbake. Overbaking will harden the centers.
Checking For Doneness
Use a toothpick to check the cakes. Insert the toothpick into the edges of the cake. It should come out clean.
The centers should be jiggly. This indicates the lava-like texture inside. If the centers are too liquid, bake for another 1-2 minutes.
Let the cakes cool for a few minutes. This helps set the structure. Turn the cakes out gently from the molds. Serve warm for the best experience.
Cooling And Removing
After baking the chocolate lava skull cakes, cool them for 10 minutes. Carefully remove them from the molds. Enjoy!

Cooling and removing your chocolate lava skull cakes is just as important as baking them. Careful attention during this stage ensures they retain their perfect shape and texture. Here’s how to do it right:
Cooling Tips
Let the skull cakes cool in the molds for about 10 minutes. This helps them firm up a bit, making them easier to handle.
Avoid placing them in a drafty area. Rapid cooling can cause cracks or dents in your cakes.
Use a wire rack for even cooling. This prevents the bottom from becoming soggy while the tops cool down.
Removing From Molds
Gently tap the molds on the counter. This helps loosen the cakes without breaking them.
Place a plate or tray over the mold before flipping. This way, the cakes land perfectly on the plate.
If the cakes stick, use a small offset spatula to gently release the edges. Be patient and avoid forcing them out to prevent damage.
Have you ever had a cake stick to the mold? Share your experiences and solutions in the comments below!
Remember, patience and care are key during cooling and removing stages. This extra bit of attention ensures your chocolate lava skull cakes look as amazing as they taste.
Decorating
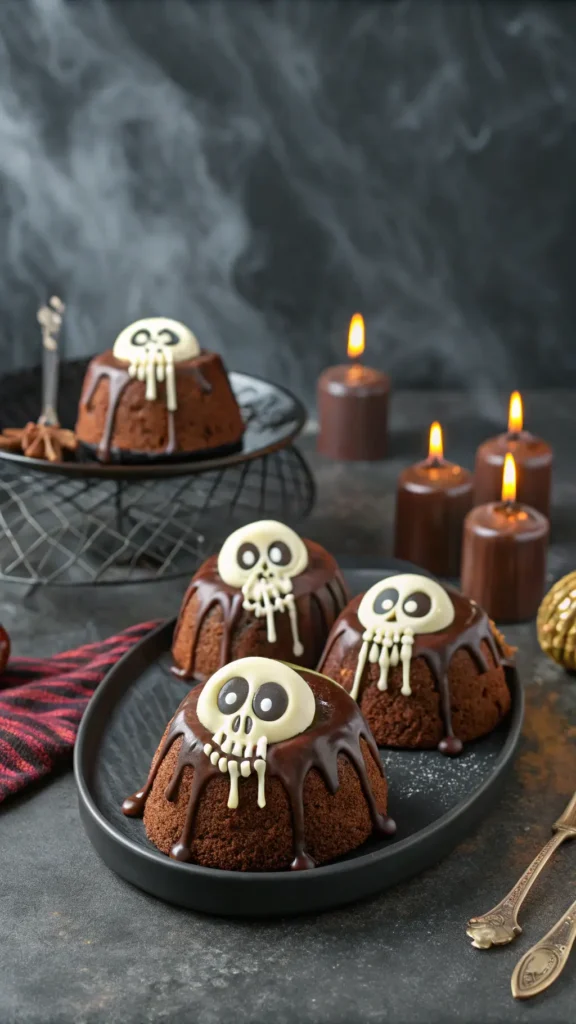
Create spooky treats with chocolate lava skull cakes. Delight your guests with these eerie, delicious desserts. Perfect for Halloween parties or themed events.
Decorating your Chocolate Lava Skull Cakes is where the real fun begins! This is your chance to get creative and add your personal touch. It’s all about making your skull cakes not only delicious but also visually stunning. Let’s dive into some exciting ways to make your cakes stand out.
Adding Edible Glitter
Edible glitter can add a magical touch to your Chocolate Lava Skull Cakes. Think of it as the sparkle that makes your cakes pop.
Sprinkle a bit of gold or silver edible glitter over the top of your cakes while the chocolate is still warm. This will give them a shimmering, mystical look.
You can also mix edible glitter with a tiny bit of clear alcohol, like vodka, to create a glitter paint. Use a small brush to paint the glitter onto specific areas of the skull for a more detailed, artistic effect.
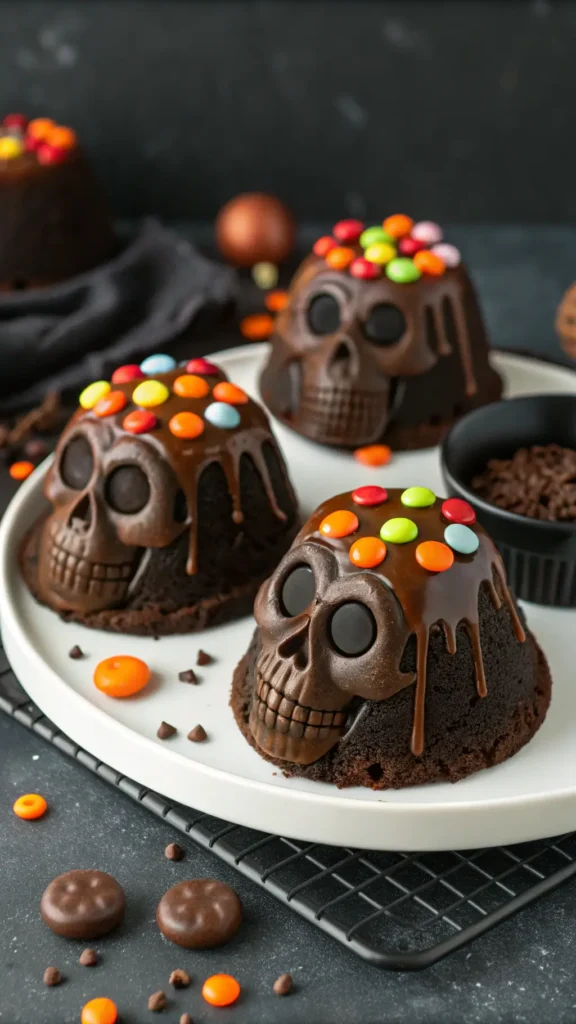
Creating Spooky Designs
To elevate your Chocolate Lava Skull Cakes, consider adding some spooky designs. This can be a great way to impress your guests.
Use a toothpick or a small brush to draw spider webs or cracks on the skulls with black food coloring. This adds a creepy, yet cool, detail that’s perfect for Halloween.
You can also use red gel icing to create the effect of blood dripping from the eyes or mouth. This is simple yet effective and will definitely give your cakes a horror-movie vibe.
Have you ever thought about using tiny candy eyeballs? Placing these strategically can give your skull cakes an eerie, lifelike appearance.
Remember, the goal is to have fun and let your creativity flow. Try different techniques and see what works best for you. How do you plan to decorate your Chocolate Lava Skull Cakes?
Serving Suggestions
Serve Chocolate Lava Skull Cakes warm with a scoop of vanilla ice cream. Dust with powdered sugar for an elegant touch. Pair with fresh berries to balance the rich chocolate.
Creating delicious chocolate lava skull cakes is just the beginning. How you serve them can elevate the experience to a whole new level. Whether you’re hosting a spooky Halloween party or simply indulging in a treat, here are some serving suggestions to make your cakes unforgettable.
Pairing With Ice Cream
Pair your chocolate lava skull cakes with a scoop of vanilla ice cream. The cold and creamy texture of the ice cream perfectly complements the warm, gooey center of the cake.
Consider other flavors like mint chocolate chip or salted caramel. These flavors add an interesting twist and enhance the overall taste.
Don’t forget to drizzle some chocolate or caramel sauce on top. It adds a touch of decadence and makes the dessert even more enticing.
Halloween Party Ideas
These cakes are perfect for a Halloween party. Decorate the serving platter with plastic spiders and cobwebs for a spooky vibe.
You could even place the cakes in a “graveyard” setting. Use crumbled chocolate cookies as “dirt” and add some gummy worms for an extra eerie touch.
Involve your guests in the fun by having a “decorate your own skull cake” station. Provide toppings like powdered sugar, candy eyes, and edible glitter for a personalized spooky treat
These serving suggestions are sure to impress your guests and make your chocolate lava skull cakes the highlight of any event. How will you make your serving unique?
Conclusion
Creating chocolate lava skull cakes is fun and easy. These treats delight guests with their spooky design and gooey center. Perfect for Halloween or any event. Follow the steps and enjoy the process. Your cakes will impress everyone. Happy baking!


Good https://is.gd/tpjNyL